TL;DR: The best photo for tree ID is a clean, well-lit, close-up shot of a leaf, against a plain background (your hand, paper, or the sky), with the leaf filling 60-80% of the frame. Bark photos work in winter but are less accurate than leaves. Whole-tree shots rarely win alone but help as a second photo. Fruit and flower shots, when available, are often the most species-specific feature. Most "the app got it wrong" complaints aren't about the app — they're about the photo.
📌 The fastest improvement: tap your phone screen on the leaf before shooting to lock focus. This single habit fixes more failed IDs than any other change.
Why photo quality matters more than app choice
Most "the app got it wrong" complaints aren't actually about the app. They're about the photo. AI tree identification is sensitive to framing, lighting, focus, and which feature you photograph — and a good photo of the wrong feature beats a bad photo of the right one. The same identification model that misidentifies a blurry leaf will nail a clear one nine times out of ten.
Think of it from the model's perspective. The neural network is comparing the visual features of your photo — leaf outline, vein pattern, color distribution, edge serrations, texture — against millions of training images. If your photo's features are partially obscured by shadow, motion blur, background clutter, or a leaf that's been chewed by insects, the model is trying to match damaged or incomplete features. The match quality drops, and the predicted species changes.
Here's how to choose what to shoot, and how to shoot it well.
The decision tree: which feature to photograph
Photograph a leaf if...
- It's spring, summer, or early fall (leaves are present and mature)
- You can find a clean, undamaged, fully-developed leaf
- The tree is deciduous (loses leaves yearly)
- You're identifying a tree you can reach
Leaves are the single best feature for tree identification, hands down. Leaf shape is highly species-specific, varies less within a species than bark does, and is what AI models are most heavily trained on. If a leaf is available, photograph the leaf.
Photograph bark if...
- It's winter or the tree has lost its leaves
- The tree is a conifer with very small, scaly leaves (cedar, juniper)
- The tree is mature with distinctive bark texture (sycamore, birch, beech, shagbark hickory)
- You can't reach a leaf safely
- The tree is so large that leaves are 50+ feet up
Bark is your second-best option. Accuracy is lower than leaves, but for half the year in cold climates it's the only option. For trees with distinctive bark — paper birch's white peeling layers, sycamore's mottled patchwork, shagbark hickory's loose plates — bark alone can be enough.
Photograph the whole tree if...
- The shape is distinctive (weeping willow, columnar poplar, conical fir, vase-shaped elm)
- You're identifying from far away and can't get closer
- You want to give the AI context alongside a leaf or bark photo
- The tree is unusually large, small, or oddly-formed
Whole-tree photos rarely win on their own, but they're useful as a second photo to combine with a leaf or bark close-up. The AI uses overall form to disambiguate between species with similar leaves.
Photograph fruit, flowers, or seeds if...
- The tree is in flower or fruiting
- You're identifying a fruit tree or flowering tree
- You see distinctive structures on the ground (acorns, helicopter seeds, cones)
- You want a high-confidence ID and these features are present
Fruit and flowers are often the most species-specific feature of all. A photo of an acorn instantly narrows the field to oaks. A maple samara narrows to maples. A magnolia flower nails the family. If you can grab a fruit or flower in the same photo as a leaf, accuracy goes through the roof.
How to take a leaf photo that actually works
1. Pick the right leaf
- Choose a fully-grown, undamaged leaf — not a sapling leaf, not a fall-discolored leaf, not a leaf with insect damage
- If the tree has compound leaves (multiple leaflets on one stem, like walnut, ash, or hickory), photograph the whole compound leaf, not just one leaflet
- Pick a sun-leaf (from the outer canopy) rather than a shade-leaf if both are accessible — sun-leaves are more typical of how the species is represented in training data
- If the tree has both simple and compound leaves on different branches (rare but happens with mulberry, sassafras), photograph the most common form on the tree
2. Use a clean background
Hold the leaf against:
- Your hand or arm — fastest, always available
- A piece of paper, notebook, or your phone case
- The sky (best — natural soft backlighting, no shadows)
- A plain wall or your shirt
- A piece of dark or light clothing for contrast against light or dark leaves
Avoid: photographing the leaf still attached to the tree with foliage behind it. The AI struggles to isolate the leaf from the busy background, especially when the background contains other leaves of similar shape or color.
3. Fill the frame
The leaf should fill 60-80% of the photo. Too small and the AI can't see the details. Too close (leaf cropped at the edges) and you lose shape information. The whole outline of the leaf — including the petiole (the stem connecting leaf to branch) — should be visible.
4. Get the lighting right
- Cloudy days are perfect for leaf photos — soft, even light, no harsh shadows
- On sunny days, photograph in open shade (under a tree's canopy, against a north-facing wall) or use the sky as a backlight
- Avoid harsh midday sun on the leaf surface — creates strong shadows that confuse the AI
- Early morning and late afternoon ("golden hour") give warm light that can shift apparent leaf color; midday overcast is more neutral
5. Focus carefully
Tap the leaf on your phone screen before shooting to lock focus there. Most "the app got it wrong" cases are actually mildly out-of-focus photos. Modern phone cameras default to focusing on whatever is most prominent in the frame, which is often the background, not the leaf in your hand. A single tap to focus solves this.
📱 The single best leaf photo: hold the leaf flat against the sky, slightly backlit, centered in frame, tap to focus, take the shot. This works for almost every deciduous tree, almost every time.
How to take a bark photo that actually works
Bark photography is its own discipline. The features the AI uses — fissure pattern, plate shape, color, texture roughness — are different from leaf features, and the photo technique should follow.
- Distance matters. Stand 12-18 inches from the trunk so the camera captures roughly a square foot of bark in detail. Too close and you only see one fissure. Too far and you see the whole tree.
- Shoot at chest height. "Diameter at breast height" (about 4.5 feet up) is the standard reference point in forestry. Bark patterns at this height are most representative of the species.
- Avoid moss, lichen, and damage. Find a clean section of bark without obvious growth or wounds. Moss alters the visual pattern enough to throw off identification.
- Include scale. If possible, take a second photo with your hand or a phone next to the bark for scale — useful for trees where bark plate size is diagnostic.
- Light evenly. Bright sun creates deep shadows in bark fissures that can look like patterns that aren't there. Overcast light is better.
- Shoot flat. Photograph perpendicular to the trunk, not at an angle. Angled shots distort the bark's visual proportions.
For a deeper walkthrough of bark identification, see our tree bark identification guide.
The "winning combination" photo
If you really want a high-confidence identification, take a photo that includes two features at once:
- A leaf and a fruit/seed in the same frame
- Bark and a leaf or twig in the same frame
- A flower and a leaf in the same frame
- A leaf and the petiole/branch attachment visible
This gives the AI two independent signals, dramatically reducing ambiguous matches. A single photo combining bark + leaf + a fallen fruit is almost impossible for the AI to misidentify. If you have time, two photos (one leaf, one whole tree) submitted to an app that accepts multiple photos like iNaturalist is even better than one combined photo.
Seasonal photo strategy
| Season | Best feature | Backup |
|---|---|---|
| Spring | Flowers + emerging leaves | Bark |
| Summer | Mature leaf | Whole tree shape |
| Early fall | Leaf (still green) + fruit/seed | Bark |
| Late fall | Bark + buds + fallen fruit | Whole tree |
| Winter | Bark + branching pattern | Buds, persistent seed pods, whole tree |
Common photo mistakes
- Photographing the whole tree from too far away. The AI sees a green blob. Get closer to within reach of a leaf or bark.
- Photographing a single small leaf with lots of background. The AI gets distracted by the background, especially other leaves of similar shape. Crop tight.
- Shooting through your shadow. Your shadow on the leaf creates fake patterns. Move so the light is to your side or behind the leaf.
- Using zoom instead of moving closer. Digital zoom degrades the image. Walk closer to the tree if you can.
- Photographing a damaged or diseased leaf. Fungal spots, insect damage, or color change shift the visual features. Find a healthy leaf.
- Photographing wet leaves. Water droplets refract light and add visual noise. Wait for the leaf to dry or pat it gently with a tissue.
- Forgetting the petiole. The way a leaf attaches to the branch is diagnostic. Crop in a way that keeps the leaf's stem visible.
- Photographing a leaf cluster on a conifer. For pines, firs, and spruces, photograph a single twig with the needles attached, not a tight cluster of needles.
Troubleshooting failed IDs
If the app keeps returning a wrong or low-confidence ID, try this sequence:
- Retake with better focus. Tap to focus on the leaf, stabilize the phone (lean against the tree), shoot again.
- Change the background. If the first shot had foliage behind the leaf, try holding it against the sky or your hand.
- Try a different feature. If leaf didn't work, try bark, or vice versa.
- Try a different leaf on the same tree. The first leaf might have been damaged or atypical.
- Submit multiple photos. If your app supports it, combine leaf + bark + whole tree for a multi-photo ID.
- Try a different app. If one app keeps failing, the second app might have a model trained better on that species. See our app comparison for alternatives.
- Crowdsource. Post the photos to iNaturalist or the r/whatsthisplant subreddit — experienced botanists will often nail what the AI missed.
Tools and equipment that help
Most modern phone cameras are more than good enough for tree ID. A few features that help:
- Tap-to-focus on the leaf or bark feature — standard on every smartphone
- HDR mode for high-contrast scenes (bright sky behind a leaf)
- Macro mode on newer iPhones (13 Pro and later) for very close leaf detail and bark texture
- Portrait mode with a low f-stop for clean background separation on leaf shots
- Smart cropping in apps like Tree Identifier, which lets you crop to the leaf or bark before identification — eliminates background noise before the AI ever sees the photo
- A small white card or notebook to use as a clean background, kept in your hiking pack
- A pocket knife or pruners to safely take a sample leaf if branches are too high (where legal — never on protected or someone else's trees)
You don't need a camera — you need a good photo. The skill is free, and once you have it, every tree ID app gets noticeably more accurate.
What experienced naturalists do differently
If you watch a botanist photograph a tree for identification, you'll see them follow a deliberate sequence:
- Step back and observe the whole tree — note shape, habitat, neighboring species
- Walk up to chest height on the trunk and photograph bark
- Find a healthy leaf or twig and photograph against a plain background
- Look for fruits or flowers and photograph those if present
- Note the location, surrounding species, and any unusual features
This takes about 90 seconds and produces enough visual data for a confident ID through any app — or for confirmation by an expert later. The casual user takes a single quick snap and wonders why accuracy is mediocre. The deliberate user takes 90 seconds and gets the right answer.
Frequently asked questions
Should I photograph a single leaf or a whole branch?
A single, clearly-framed leaf against a plain background is usually best. A branch with multiple leaves is acceptable but gives the AI more visual noise. If the tree has compound leaves (multiple leaflets per leaf stem), photograph the entire compound leaf, not just a single leaflet — it's the compound shape that's diagnostic.
Is it OK to photograph leaves on the ground?
Yes, with one caveat: confirm the leaf came from the tree above. Wind moves leaves around. If you're under a maple but the leaf in the photo is from a nearby oak, you'll get an oak ID for the maple. Look up to verify, or photograph multiple leaves and check that they all match the tree's canopy.
Why does the AI fail on photos that look fine to me?
Subtle issues are usually the cause: slight blur from hand movement, mixed lighting (half-shadow on a leaf), or background contamination (other species visible at the edge of the frame). Try retaking with deliberate framing — leaf flat against sky or hand, single focus tap.
Do flash photos work for tree identification?
Generally not. Flash creates harsh, unnatural shadows and washes out leaf colors. Use natural light if possible — even an overcast day works better than flash. The one exception: extreme low-light bark photos at dusk, where flash plus careful angle can work.
How important is photo resolution?
Less important than you'd think. Most tree ID models downscale the input image to a few hundred pixels on each side before processing. Any phone from the last five years has enough resolution. What matters more is sharpness, framing, and lighting.
Should I edit photos before submitting them?
Light cropping to remove background clutter helps. Heavy editing — boosting saturation, applying filters, sharpening — usually hurts because the model is trained on natural, unedited photos. If your app has built-in cropping, use it before submitting.
Can I identify a tree from a photo taken months ago?
Yes — the model doesn't care when the photo was taken, only what's in it. If you have a clear leaf or bark photo from a hike last summer, you can identify it now. Most apps let you upload from your photo library, not just take a new picture.
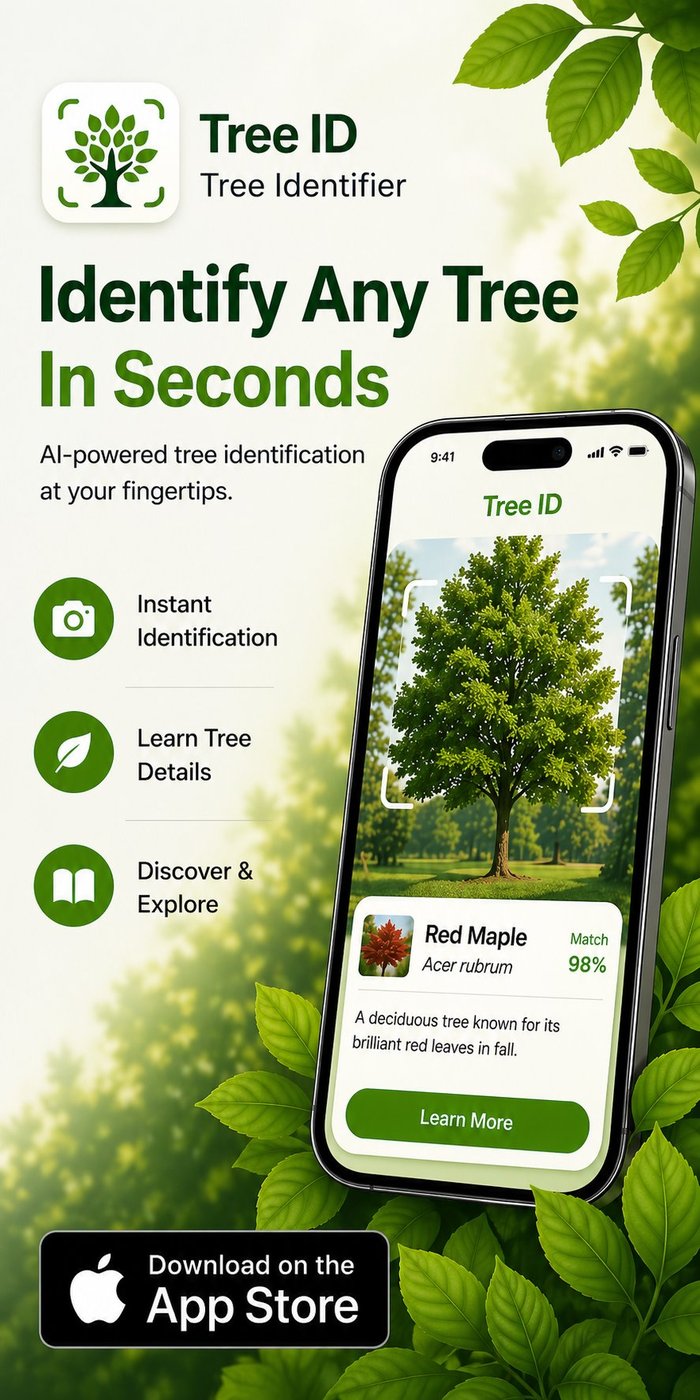
Try Tree Identifier — free on iPhone
AI-powered tree ID from a single photo. Leaf, bark, or whole tree. Smart cropping built in.
Download on the App Store